Tuesday, August 21, 2012
Scenes from the August Linux Installfest!
This month, we held a Linux installfest and had a great time doing it. Here is video from the event.
Thursday, August 2, 2012
Sega Genesis Cartridge Raspberry Pi Case Mod
Here is a case mod that I recently completed. I decided to mount my Raspberry Pi into a Sega Genesis cartridge.
First, I found two inexpensive games that were unlikely to be missed. I chose Madden '95 and Troy Aikman Football. I removed the security screws using a ballpoint pen using the method I found on YouTube and posted in a previous post.
Here are the two opened cartridges, with my Raspberry Pi also in the picture for scale. I also took a picture of the melted pen, because I was surprised it actually worked to remove the security screws.

I then created a cardboard mock-up of my Raspberry Pi and tested in the 3D printed case that I have.

After some love with a Dremel, I tried the mockup in the cartridge.


I then tried out the real Raspberry Pi inside the cartridge.


Here is the view from the back. I decided to grind off the portion of the back so that the board would be flat inside the cartridge.

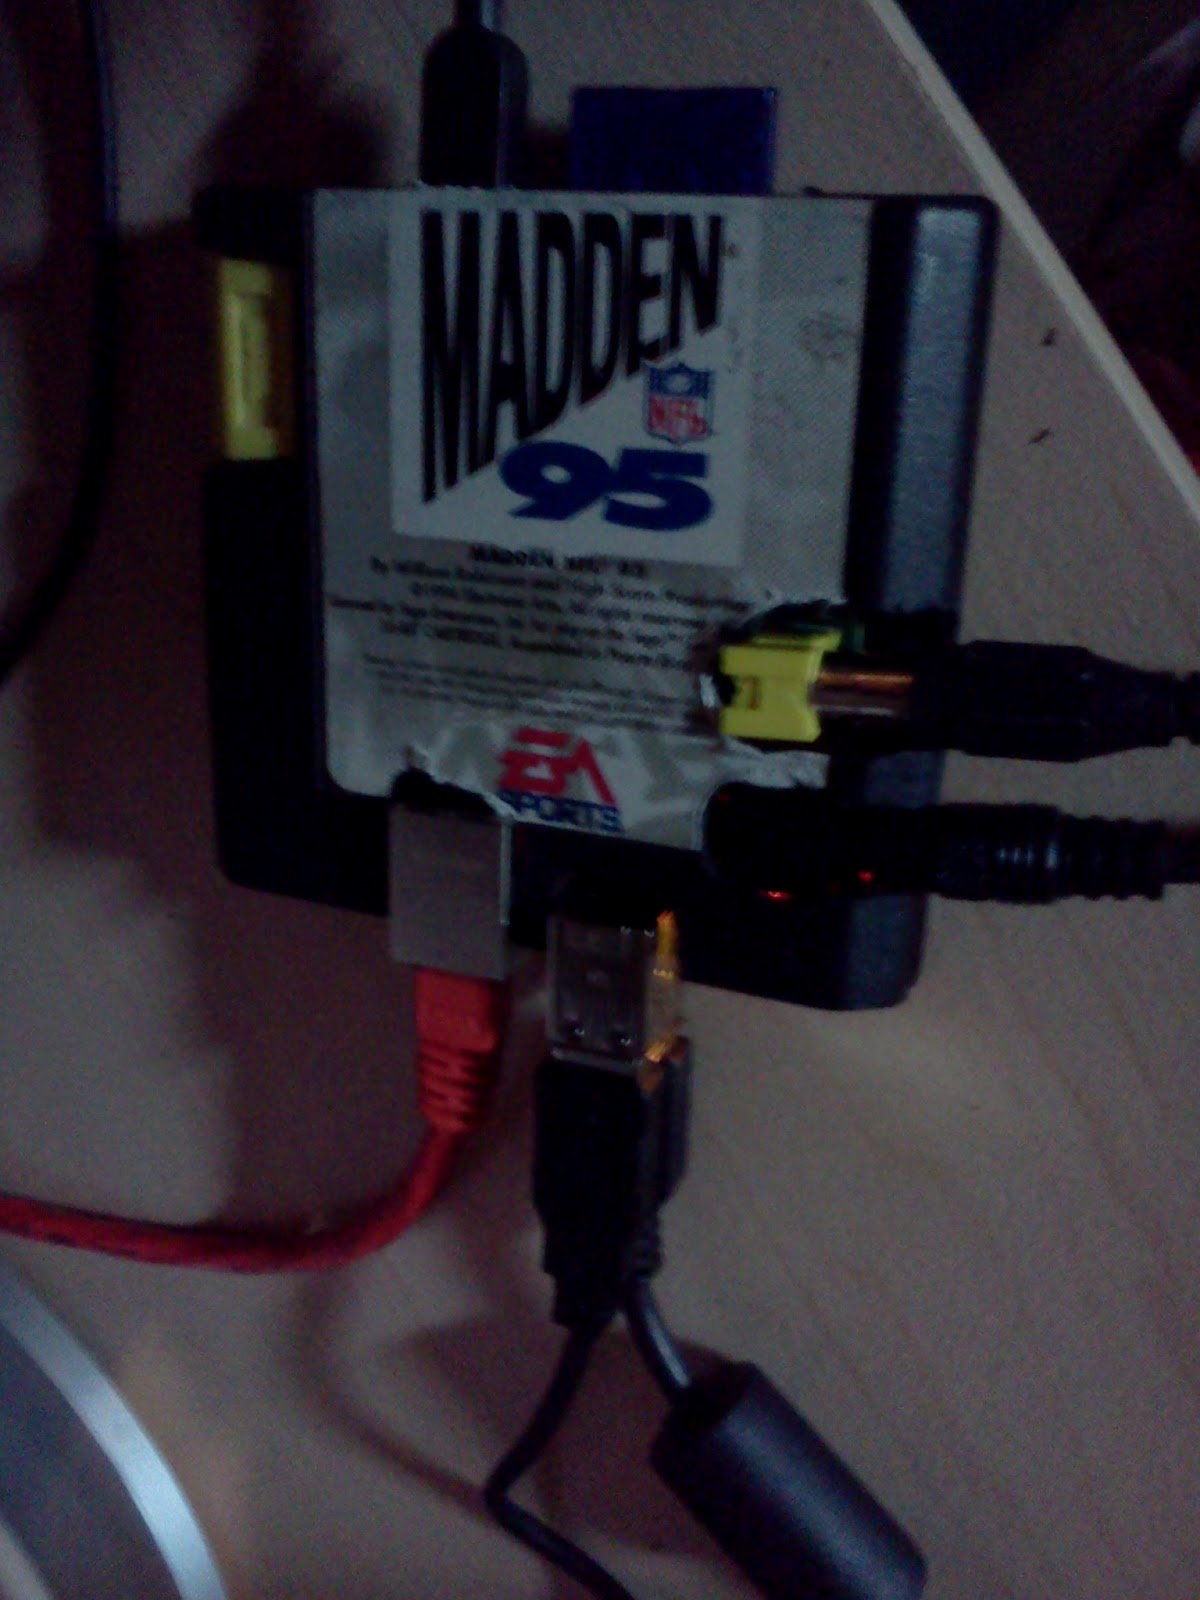
Here are two pictures of the Raspberry Pi, inside of the cartridge, powered on.

Here is a picture of the case for the cartridge.

Because of the placement of the Raspberry Pi inside the cartridge, I didn't need to modify the case to use it.

NOTES ON MODDING A GENESIS CARTRIDGE:
The EA cartridge seems like a better fit, because it allowed for a vertical mounting of the Raspberry Pi. The yellow plastic clip on the side allows you to close the cartridge without messing with the security screws, but the screw on the left side can still be used if you're fairly certain that you won't be opening the cartridge in the future. As a bonus, there are some plastic structural pieces that are almost perfectly spaced to the width of a Raspberry Pi.
This was my first major Dremel job, and I was a little too ambitious with some of the grinding. A cardboard mockup doesn't very accurately represent the depth of the grinds that I had to make. There was probably enough room above the headphone out that I didn't need to grind it out. Top mounted hardware like the composite out, headphone out, and USB micro power don't really need much grinding on the bottom half. It's possible that the Raspberry Pi board still might have fit without grinding out the curve on the back side, but I'm still happy with the result.
As an added bonus, the LED status light indicators are near the bottom right edge of the cartridge, and are pretty easy to see when the device is on.
For HDMI people, I'd probably notch out a small spot and hook up an HDMI male to female extension cable from someplace like Monoprice, and then just leave the cable connected and sticking out of the cartridge.
STILL TO DO:
From here, I will probably work on getting emulators to work in a reliable fashion on this device. I will eagerly be watching the Super Pi Adventures website, as well as anywhere else that provides news on emulation for the RPi.
Wednesday, August 1, 2012
Subscribe to:
Posts (Atom)